
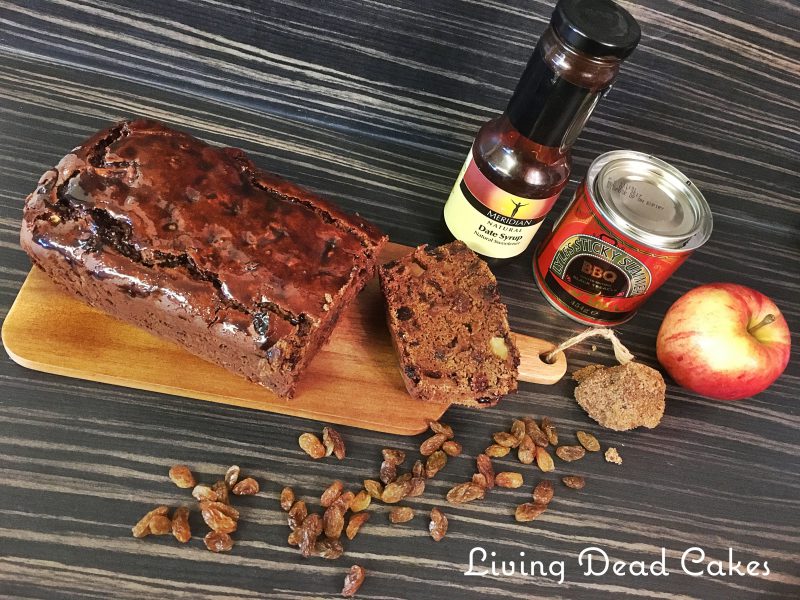
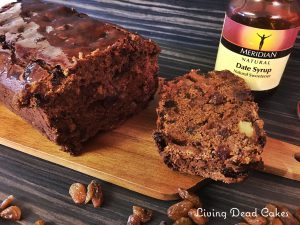
This recpie is dairy & gluten free & can be made vegan
One of the first recipes I posted on this blog all the way back in 2015 was a vegan & gluten free sticky toffee pudding I thought as its our first recpie back i’ll share with you my updated and improved Sticky toffee puddding this one isn’t truly vegan but dairy free & gluten free, it can be made vegan just have a peek at the ingredients for how.
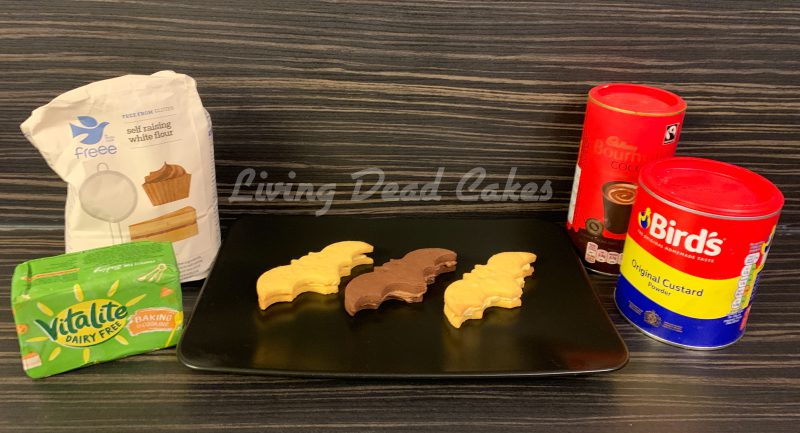
Ingredents:
For the Sponge
- 200g Stoned & chopped dates
- 1 Tsp Bicarbonate of soda
- 200ml Boiling water
- 70g Dairy free butter,
- 50g Dark brown sugar
- 2 Tbsp of Black treacle
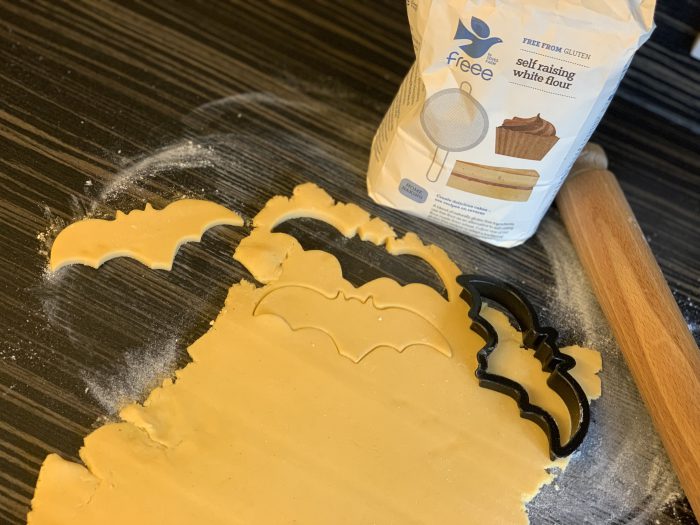
- 200g Gluten free self rasing flour
- 3 Medium eggs (or flax eggs if you want to make it vegan, 1 tbsp ground flax seed to 3 Tbsp water per “egg”)
- 1 Tsp Baking powder (make sure its gluten free)
The toffee sauce
- 300g Soft dark brown suagr
- 150g dairy free butter
- 1 Tbsp Black treacle
- 200ml Dairy free double cream
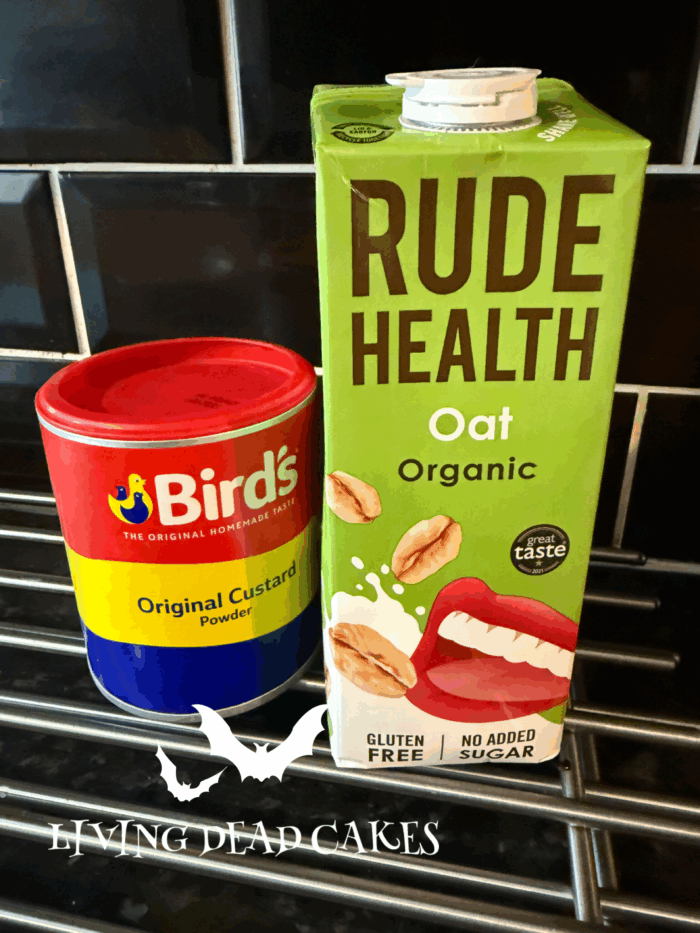
The Custard
I used Birds custard powder and just made it up with dairy free milk, i used a gluten free oat milk. Birds custard powder is gluten free and is a “may contain” for milk.
Method:
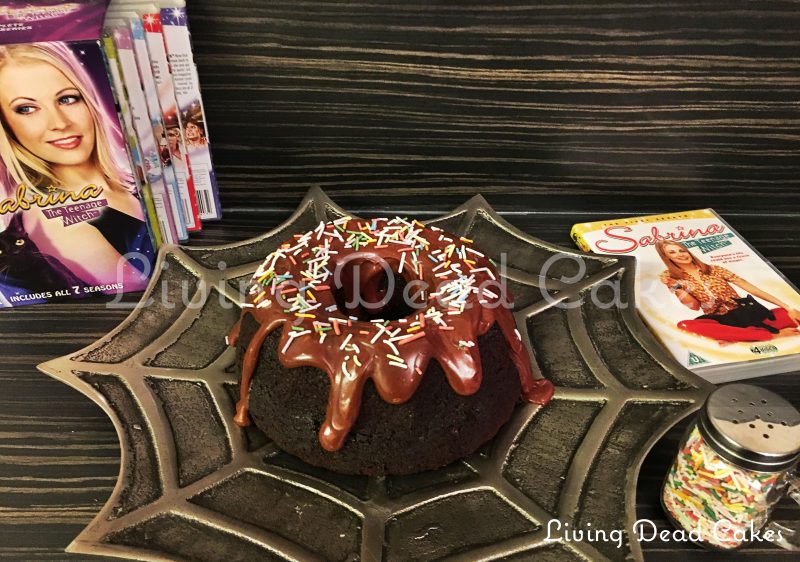
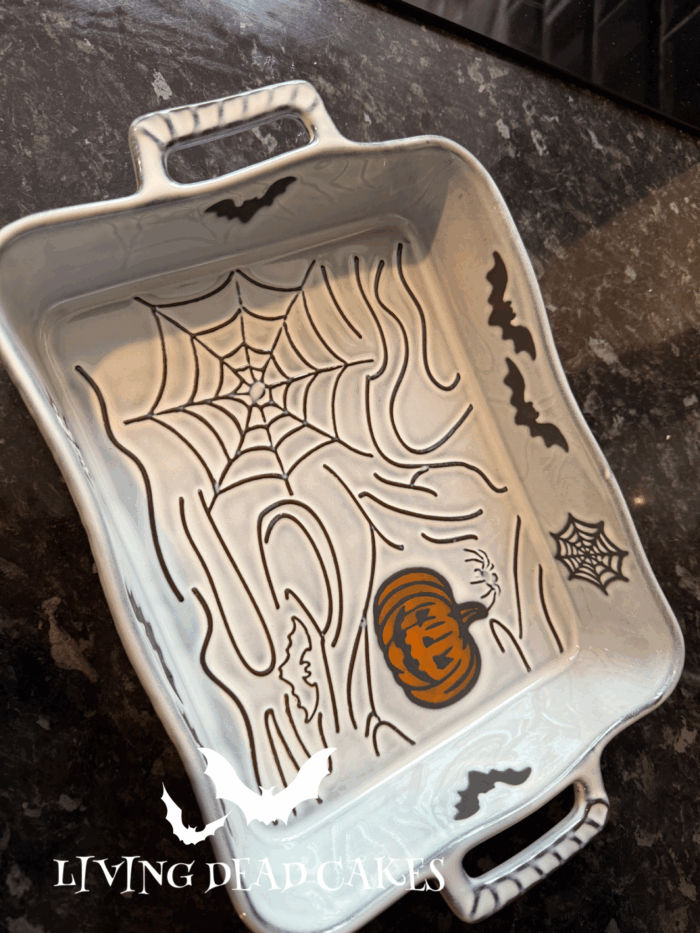
You can bake this sponge in any dish you like, around the 9″/23cm is perfect but im using my new favourite dish, just lightly grease the dish you chose to use.
Pre heat your oven to Gas mark 4, 1800c, 350f 160c (fan)
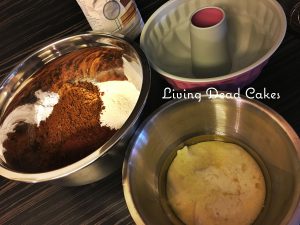
- In a bowl add the bicarbonate of soda, boiling water and chopped dates and leave to sit for 10-15 minutes.
- Cream together the butter, sugar and treacle, until smooth add one egg and beat add a little flour and combine gentley add the last eggs and the rest of the flour and baking powder.
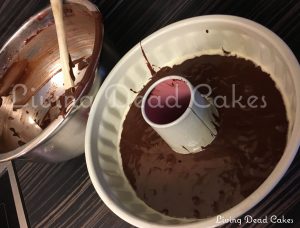
- Add the dates and water to your batter and mix gentley.
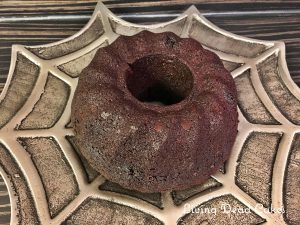
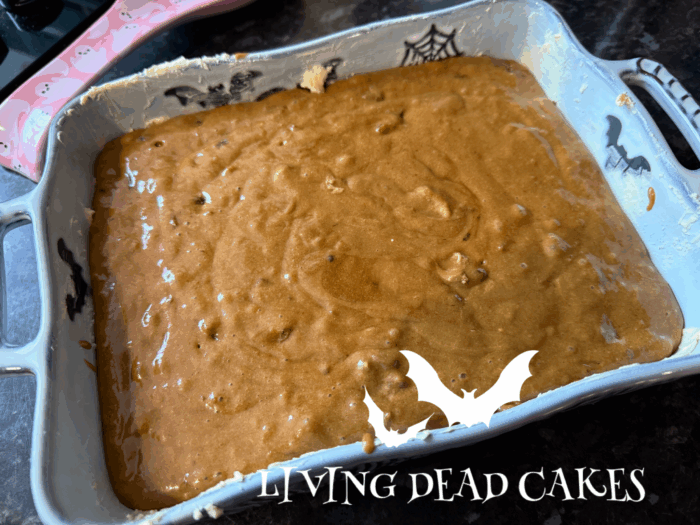
- Pour into your greased dish and bake for 30-35 minutes or until a tooth pick comes out clean.
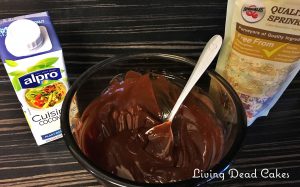
The sauce
This sauce is so simple to make and you can use it with any dessert, ice cream or brownies ect.
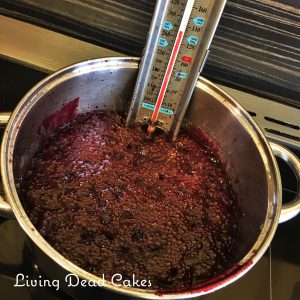
- In a saucepan add the butter, treacle and sugar and heat gently until melted and combined
- Add the cream and turn up the heat to create and thick sauce.
- Once thick leave to cool ready for your baked sponge
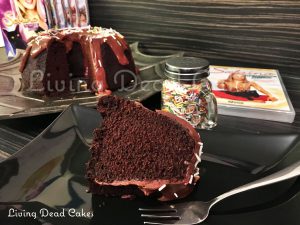
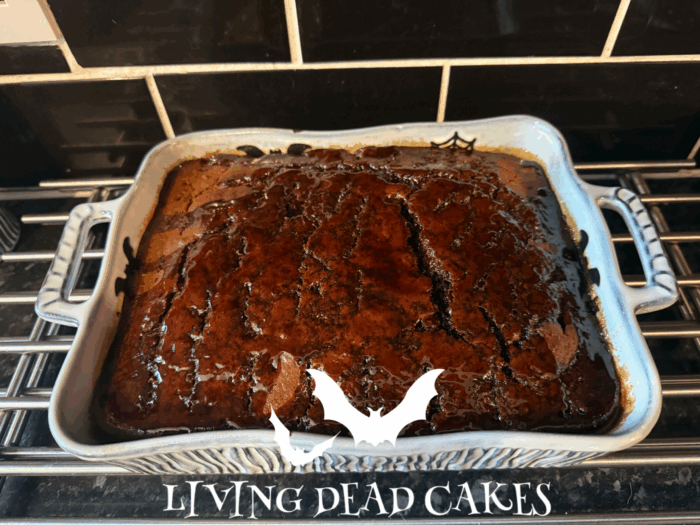
Once your sponge is baked prick all over with fork and pour on just over half of the toffee sauce, leave to sit until you are ready for it and serve with the remaning sauce.
This can be served with ice cream or custard or just plain on its own.
If you want to make this a little extra special add a teaspoon of mixed spice to your caramel for a festive touch.


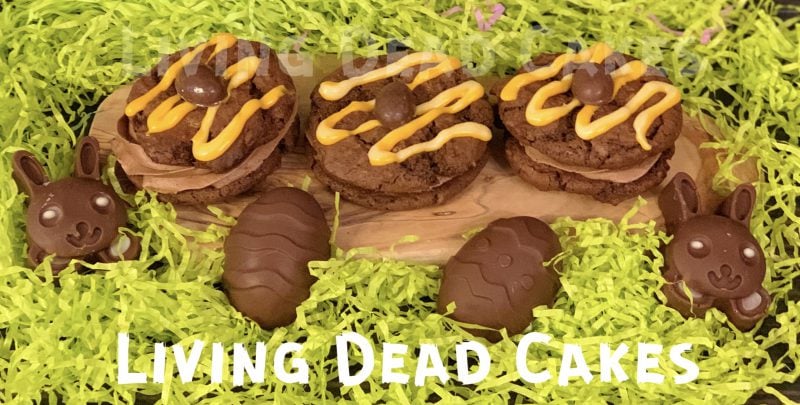


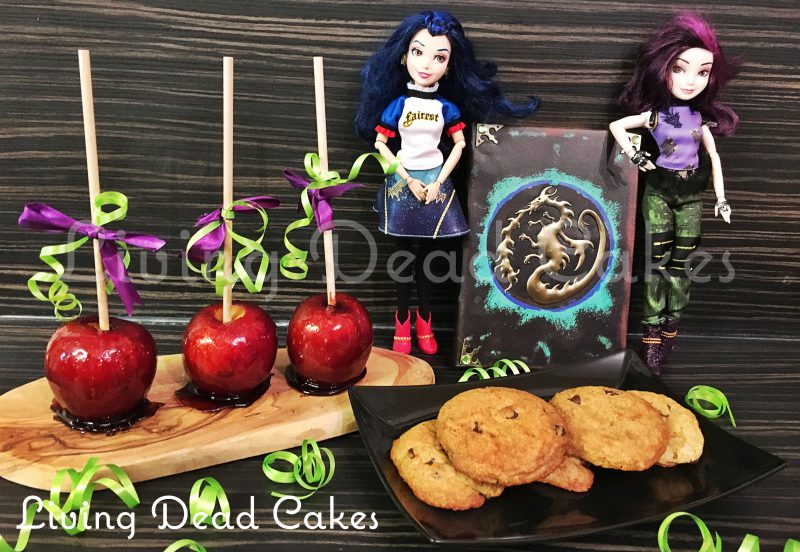
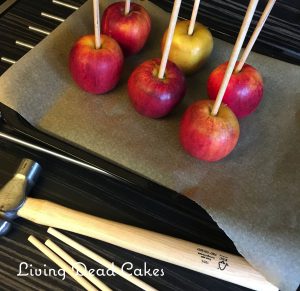
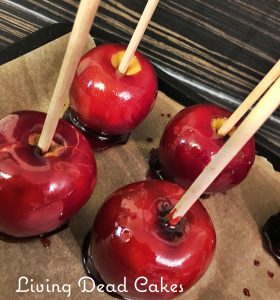
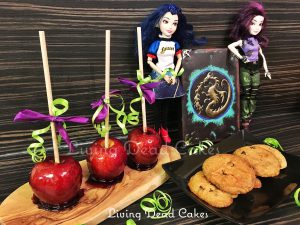
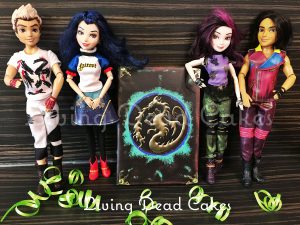 In honour of all things wicked I have made two yummy Descendants inspired recipes, Mal’s love spell cookies from the 1st film and red dipped caramel apples from the new film. You don’t have to add a real tear of human sadness to your cookies but I would if you have one to hand.