After how wonderful our little Halloween party was and how much fun we all had we decided here at Living Dead Cakes HQ to have another little party.
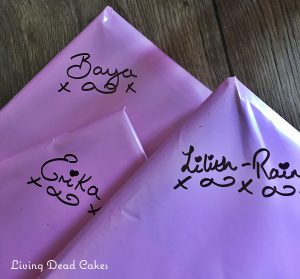
This time it was a fairy theme. As Both Lilith-Rain & Baya love fairies, so it was an obvious theme.
Over the half term holidays, we got together with our closest & best friend and her two little girls again. The fairy fun & games began. We dressed up as fairies and played fairy games & enjoyed lots of fairy activities
I made many vegan & gluten free treats for our tea party.
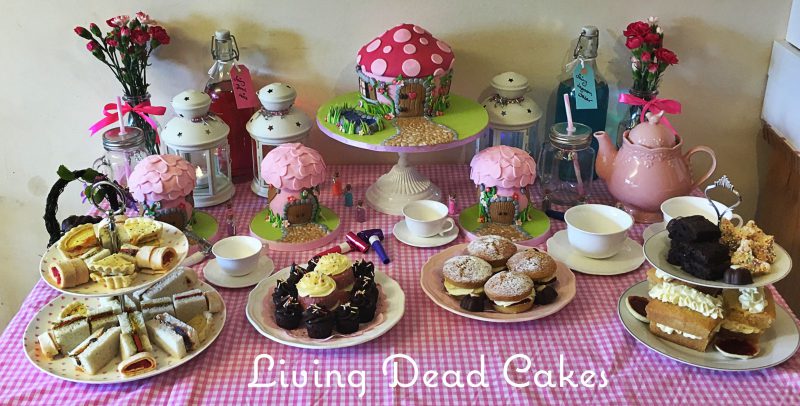
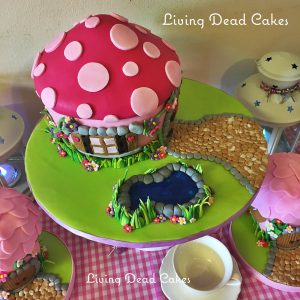
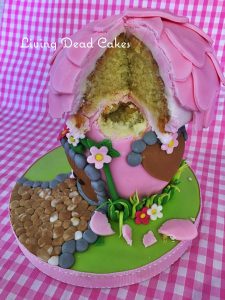
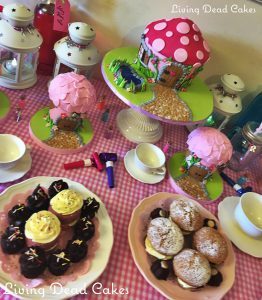
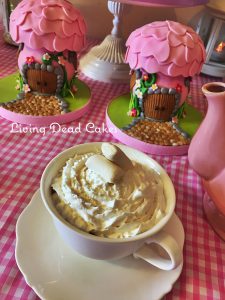
The table centre piece was a big fairy house cake and 3 little fairy house cakes around it. A mini fairy village. One mini fairy house each for the girls after the party to take home.
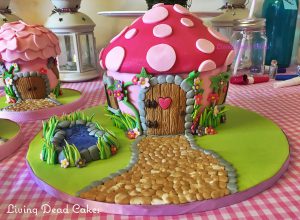
The big fairy house even had a little pond.
The little mini fairy houses were the same base as the big house, vanilla cake with creamy vegan vanilla butter cream.
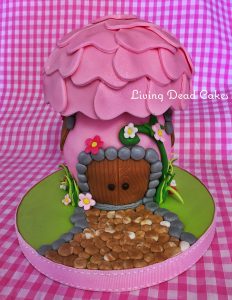
The girls loved the mini houses and said “They were really cute”
I had so much fun creating all the food we had, I wanted to make some of my favourite things.
Im going to add a few recipes from some of what we had to eat, if you would like something I have missed please message me and I will add the other recipes.
Contact me here
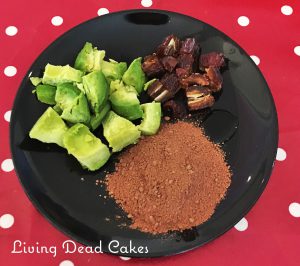
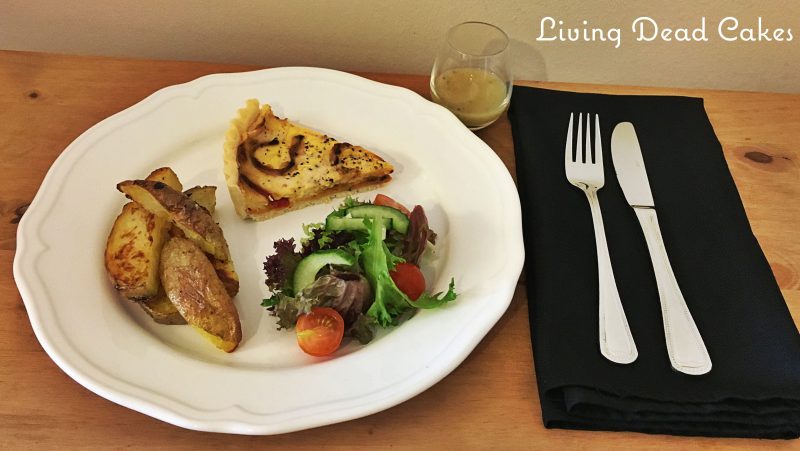
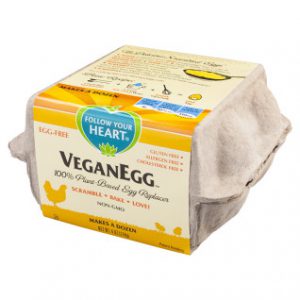
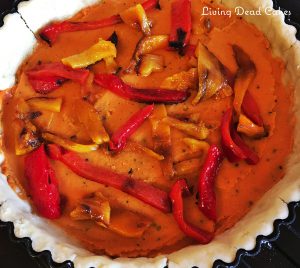
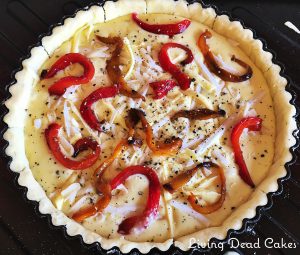
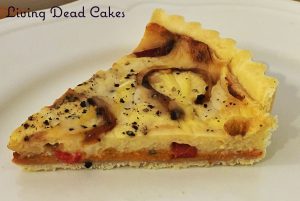
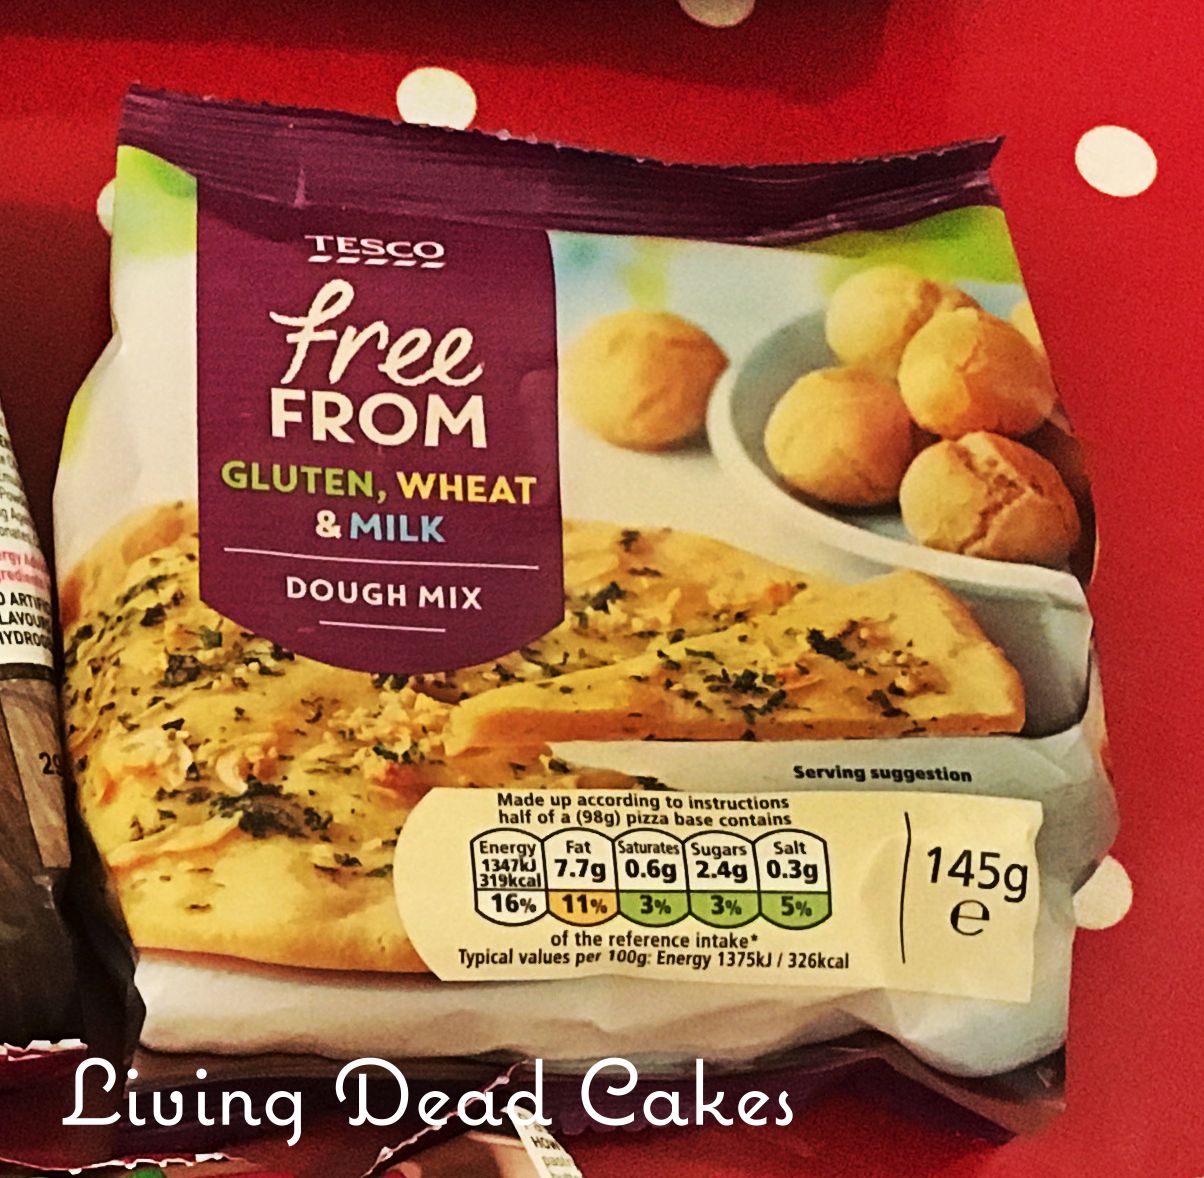
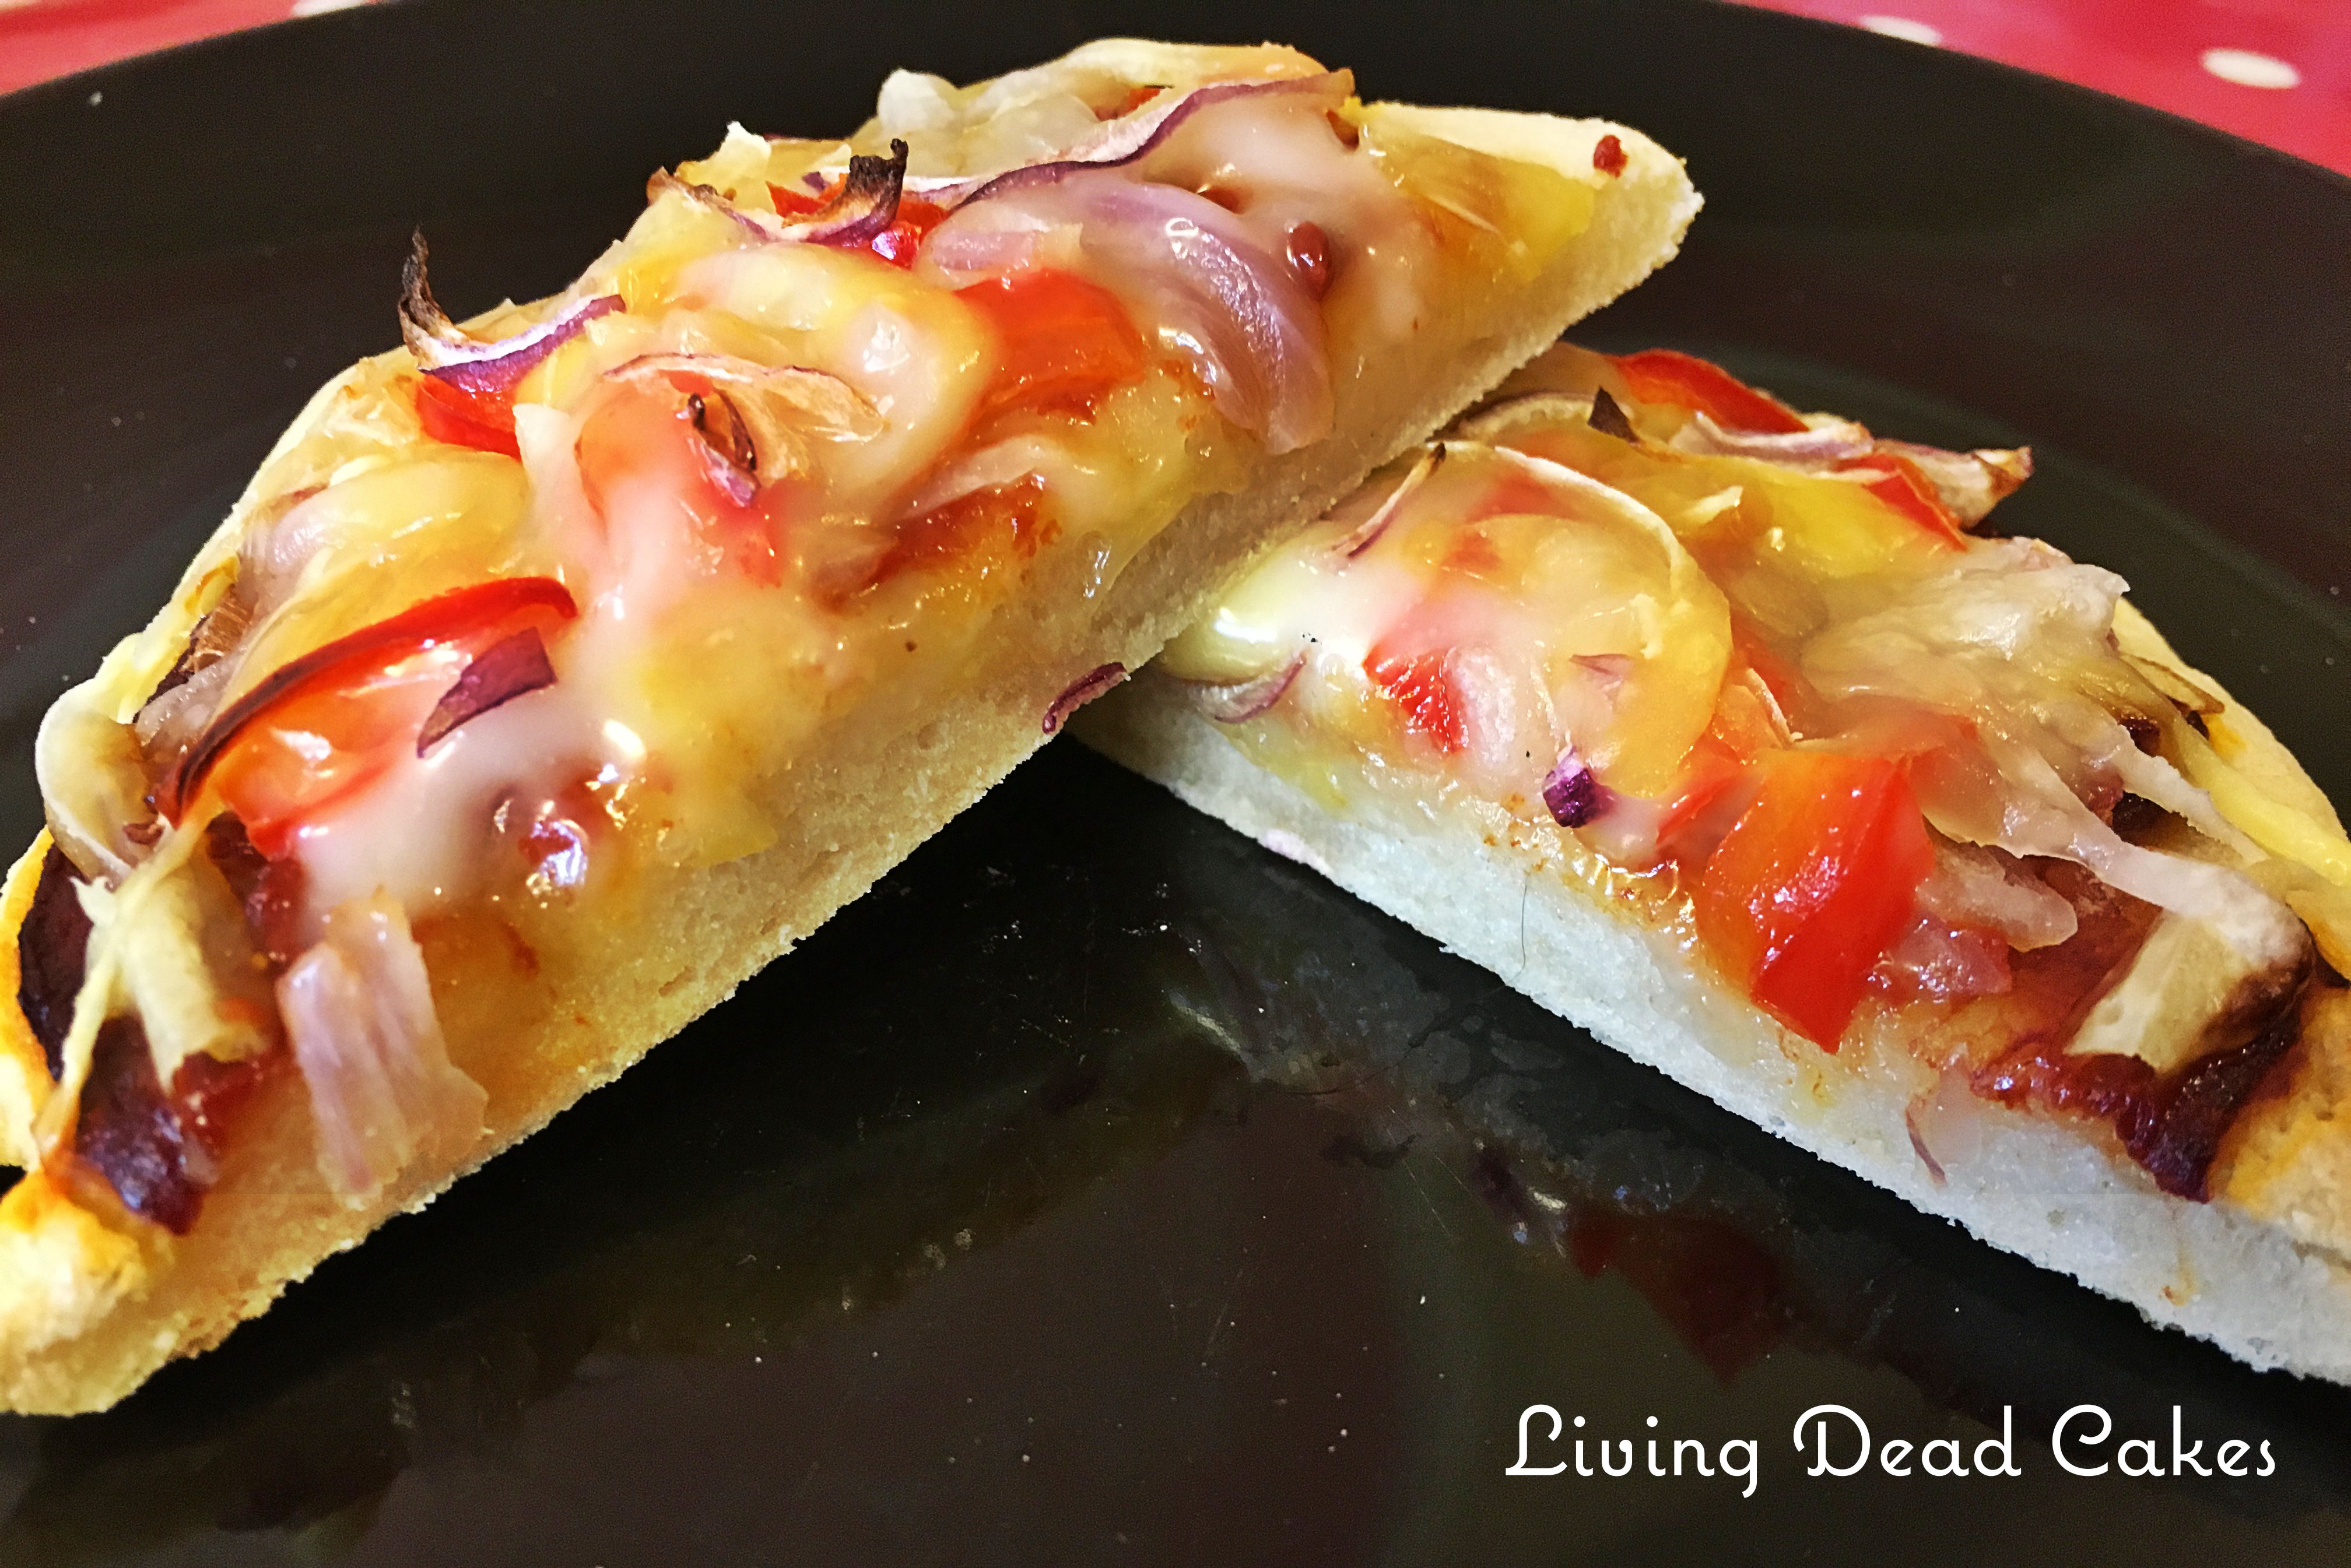
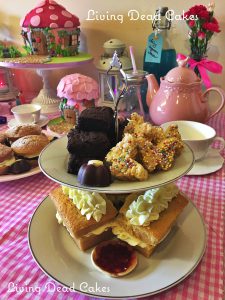
On the savoury side we had mini VeganEgg quiches with red onion and roasted peppers, the recipe for my sweet potato quiche can be found here.
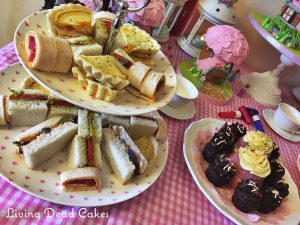
We also had roasted pepper & red onion with green pesto sandwiches (bottom of cake stand) & hummus with red pepper wrap pin wheels. (top left of cake stand) All made with gluten free & vegan bread & wraps.
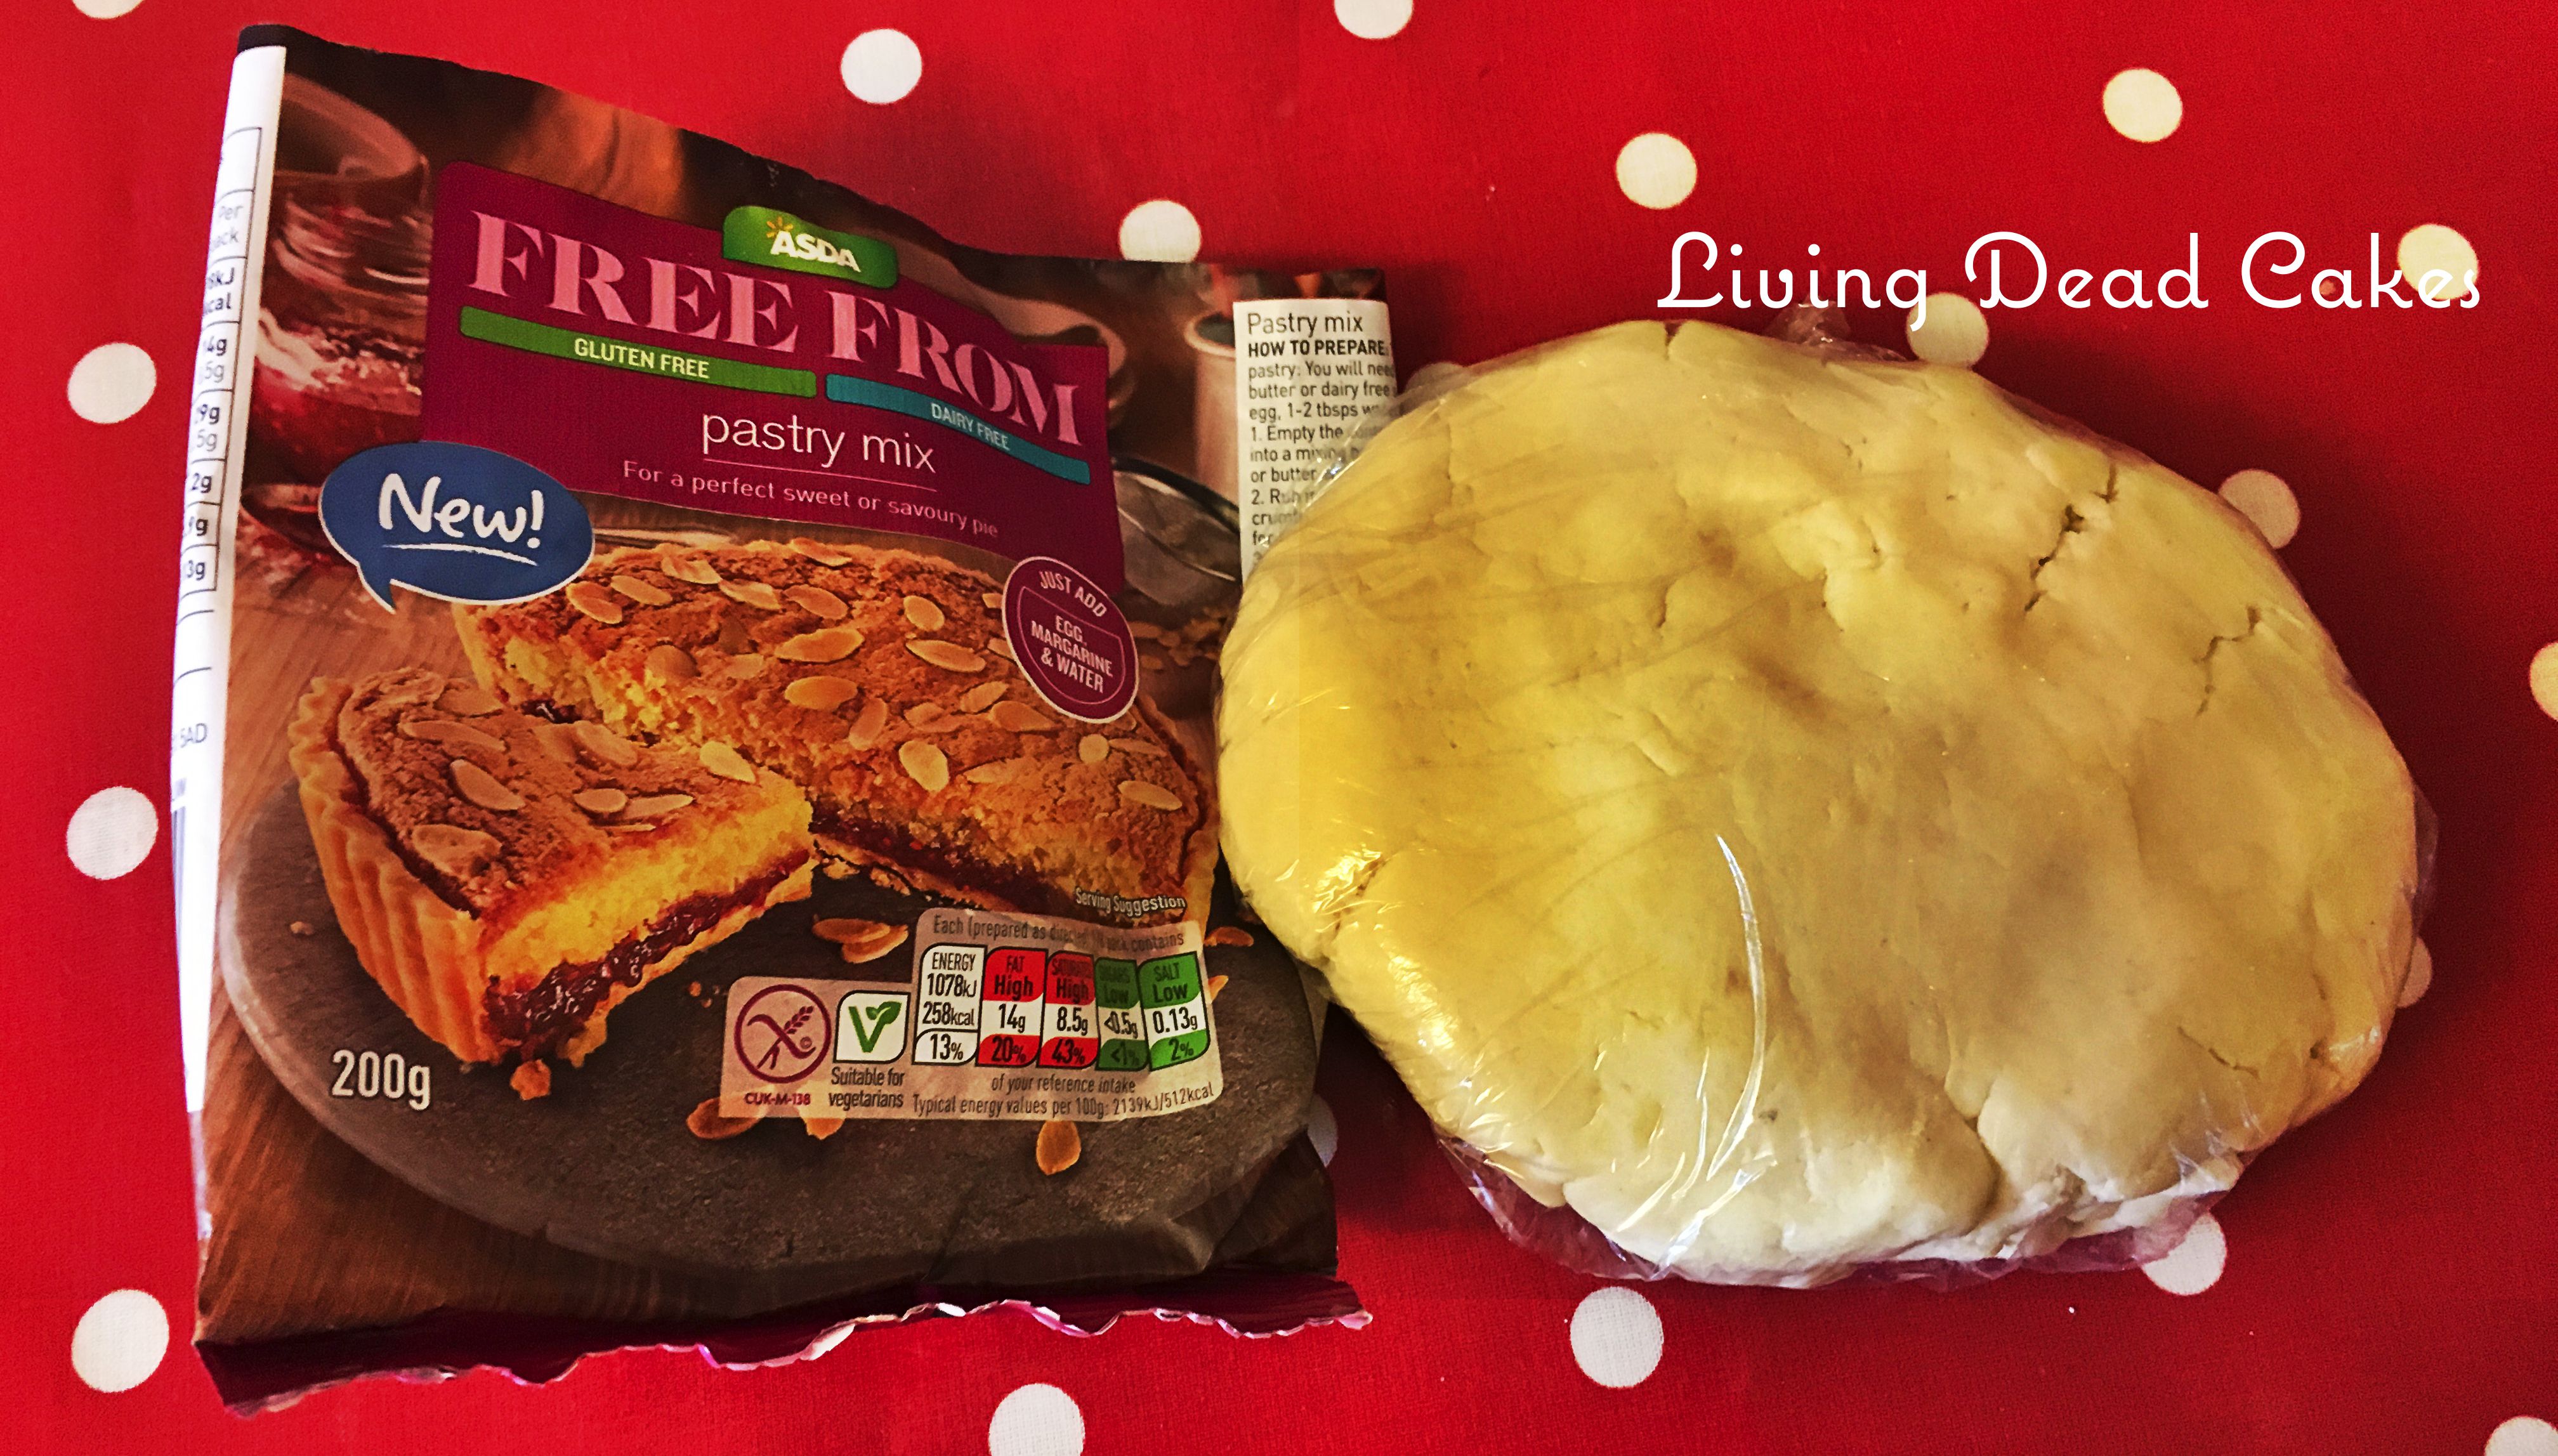
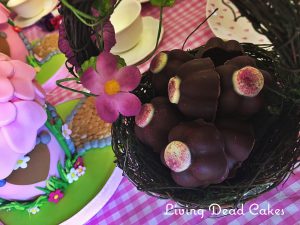
Some of the sweet things we had are fairy creme flowers (recipe here)
We also had butterfly marshmallow treats

I made these using freedom vegetarian mallows & Nature’s path gluten free crispy rice
Ingredients:
- 75g Freedom mallows
- 30g Dairy free butter
- 30g Golden Syrup
- 150g Natures path gluten free crispy rice
- Vegan sprinkles to decorate
Method:
- line a brownie pan with cling film & grease well
- In a saucepan melt the butter, golden syrup, and mallows
- Once melted add the crispy rice and mix until well combined and place in the lined brownie pan
- Sprinkle the top with sprinkles and chill in the fridge for 30 minutes
- once chilled cut into shapes, I used a butterfly cutter. Return to the fridge to compleatey set.
Some of the other cakes we had
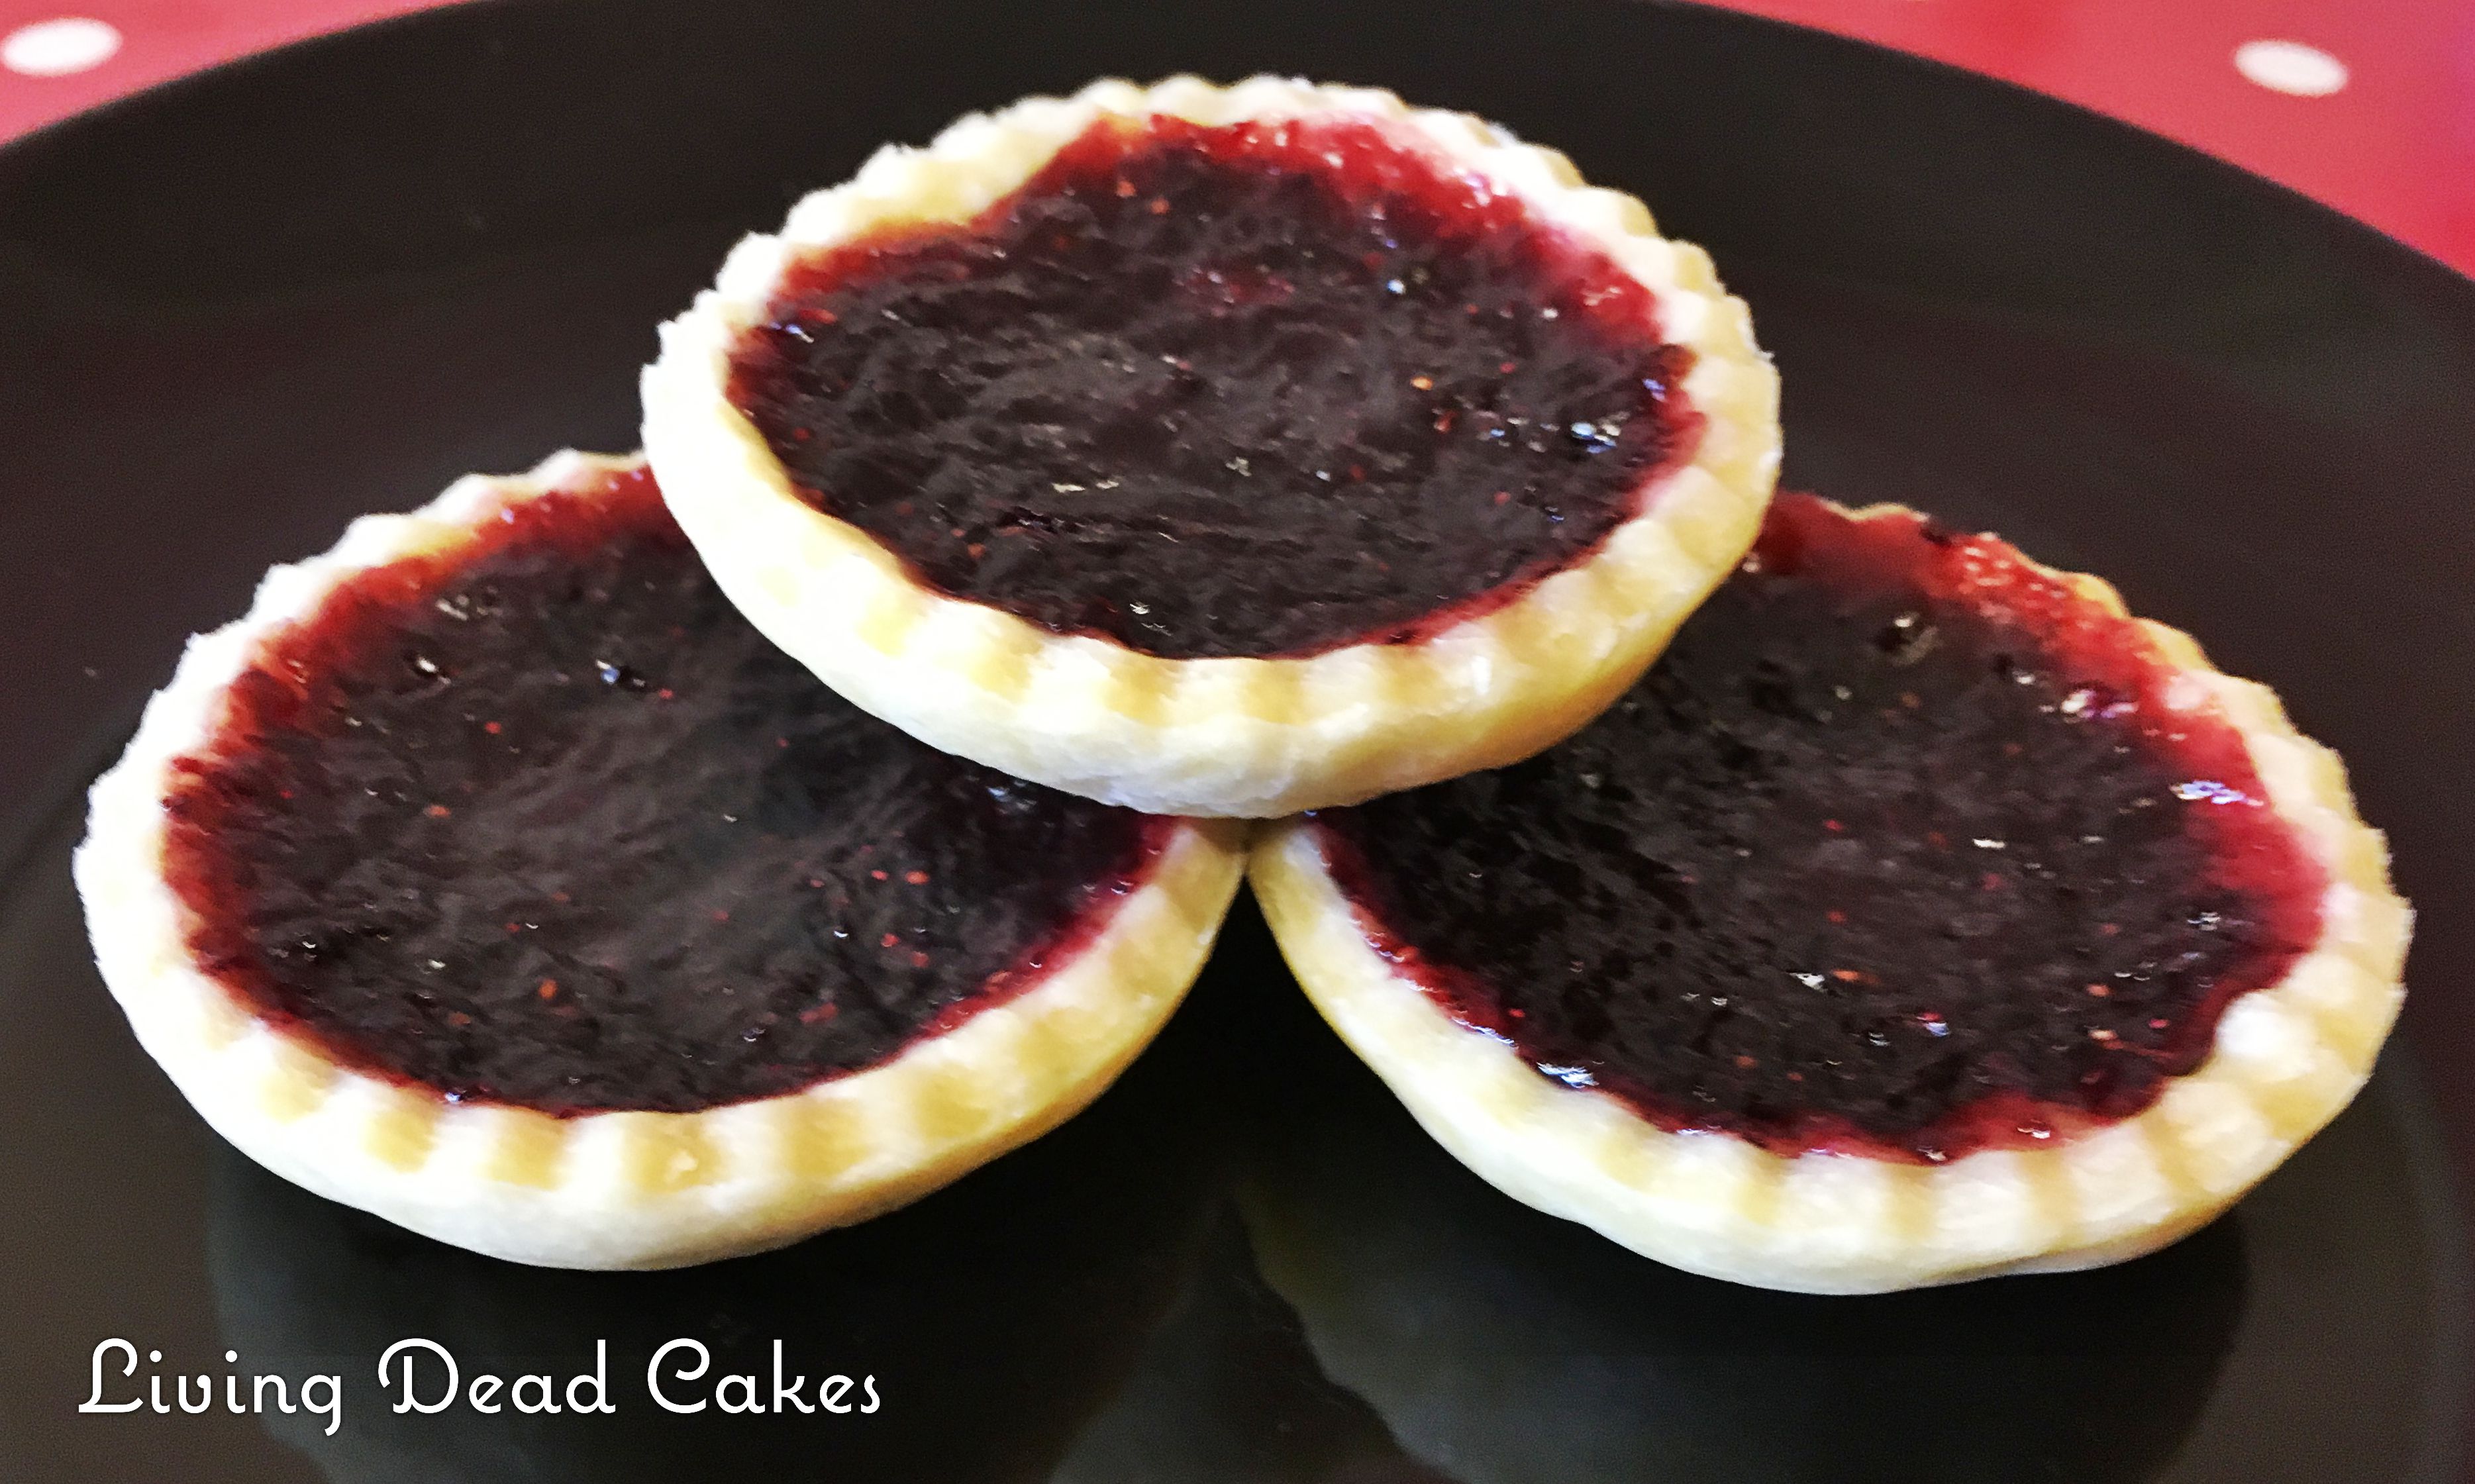
Mini lemon drizzle loafs with Fairy Jam tarts (bottom left)
Brownies, Fairy flowers, & Mallow butterflies (top left)
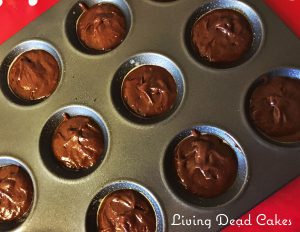
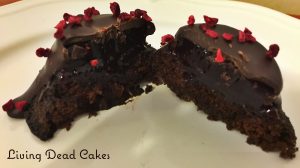
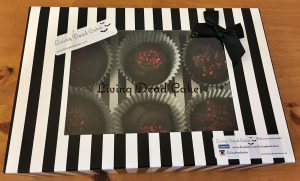
Mini chocolate cakes, Purple ombre vanilla cakes & Mini victoria sandwiches
(bottom right)
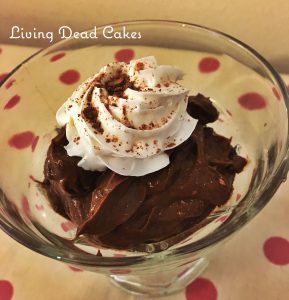
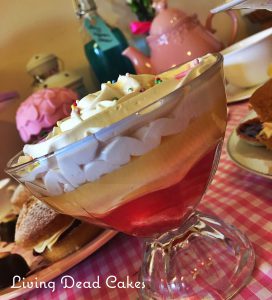
We also had vegan & gluten free trifle!
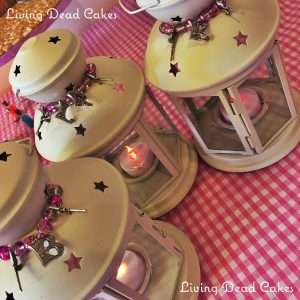
I made little fairy lanterns for the girls for late night fairy spotting:
Each lantern had their first name initials & battery powered tea lights.
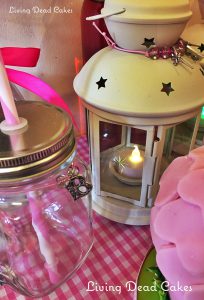
The girls also had personalised drinking jars with their initials too.
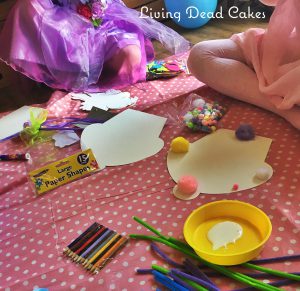
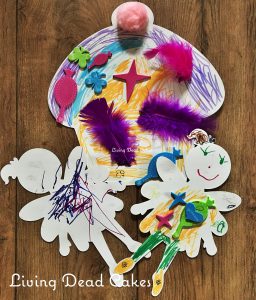
We didn’t just eat yummy fairy food we also decorated butterfly cookies and made sticky pictures with pipe cleaners and other fun things
All 3 girls had a great time, Little Erika even joined in with the fun and games.
We ended the party with hot chocolate & vegan cream and fairy presents.
I will add lots more photos of the fairy party to our Facebook page, so if you would like to see some more of the cakes and other details check out the Facebook page.


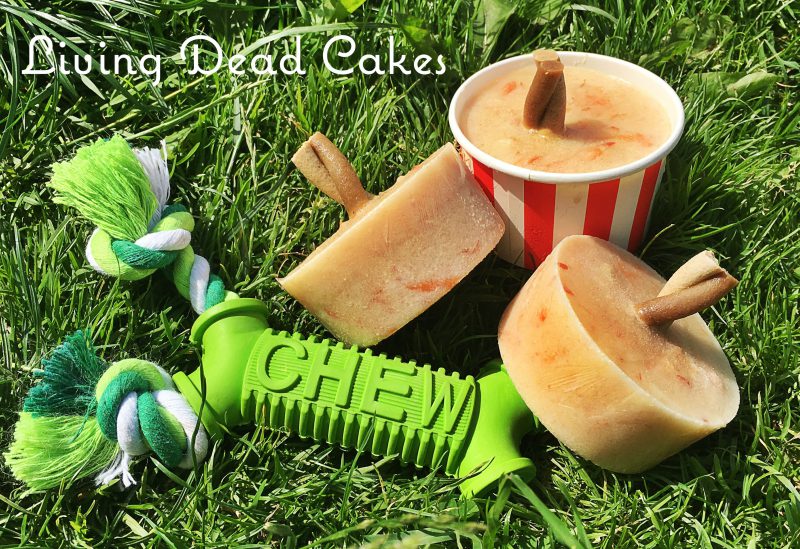
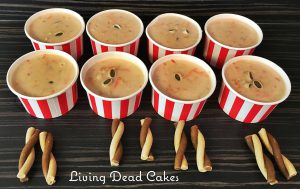
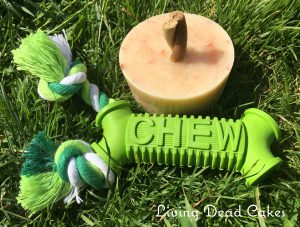
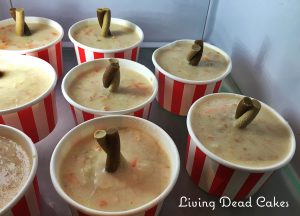 To remove from the pots place them in a little warm water and they will pop out the pots & let your dog enjoy. Prue ate hers so quick I couldn’t get a good photo but check out our