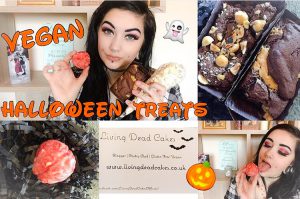
Yes you read the title correct, Popcorn that tastes like Birthday Cake & the fabulous Lilithas Bones from YouTube trying our selection of vegan & gluten free Halloween inspired treats.
I love Ava-Elizabeth and have been watching her videos for about 2 years, so when she approached me about making a tasting video I jumped at the chance.
Due to all the changes we have had a Living Dead Cakes HQ this took a little longer to happen than I had wanted but as halloween approached I though now would be the perfect time.
Ava’s channel on YouTube is full of videos about her body modifications, like myself she has a few facial piercings and she posts honest reviews of jewellery & tips on how to look after them once you have had them done, she posts make-up tutorials and even though she isn’t vegan she does use some high street vegan make up!
One of the many things I love about Ava is her honesty and her open heart, her videos are real and from her heart. Never change Ava <3 xxx
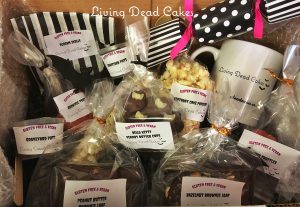
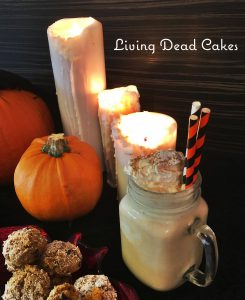
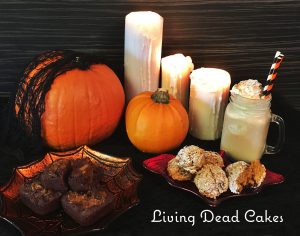
In Ava’s box I sent her a cute LDC mug and a cracker full of spooky spiders along with some new yummy vegan & gluten free treats the recpies of all of these will be up on our website over the coming weeks as every day is halloween for us!
Ava tried our ……….
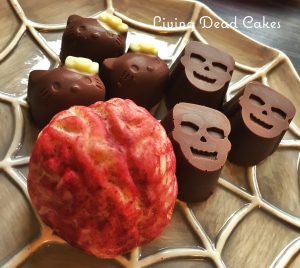
Scream Skulls,
Chocolate skulls filled with vanilla crème fondant. Crème Eggs got scary!! & Vegan.
These are a spooky take on my Crème Egg flowers click here for the recipe
Brownie Truffles,
White chocolate brains filled with rich brownie truffles.
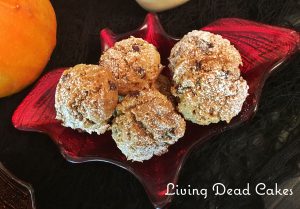
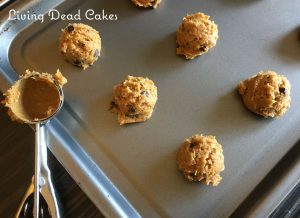
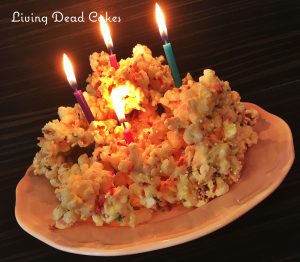
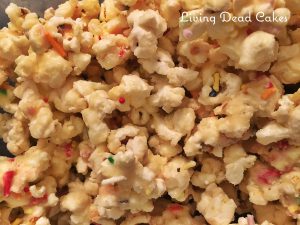
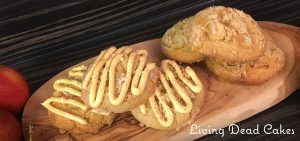
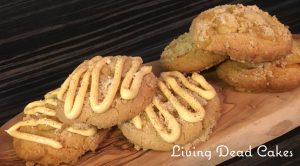
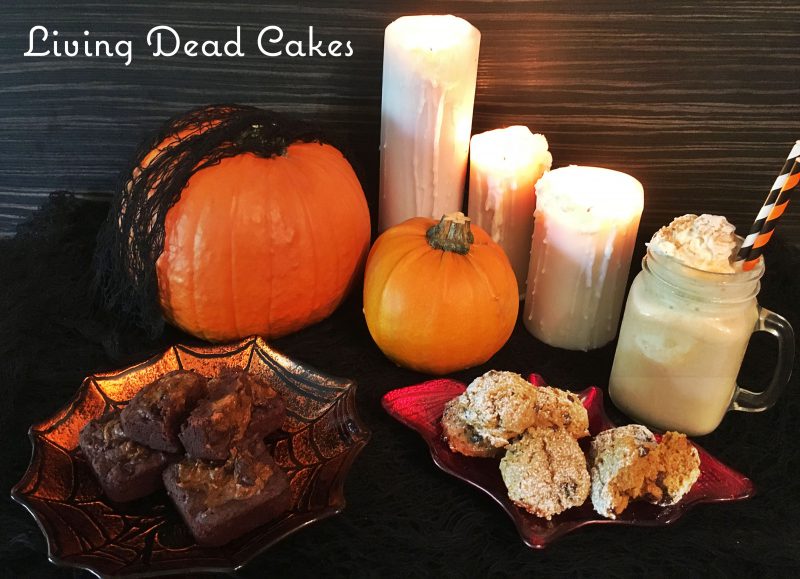
Birthday Cake Popcorn, (recipe below)
Popcorn smothered in white chocolate & vanilla birthday cake.
Hello Kitty Peanut Butter Cups,
Vegan chocolate shell filled with smooth peanut butter
Graveyard Pots,
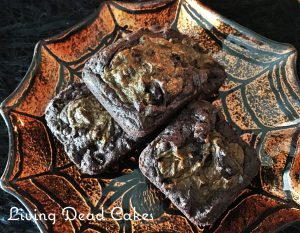
Chocolate cake, chocolate brownie layered with cherries & chocolate ganache, topped with coconut and broken mint glass!
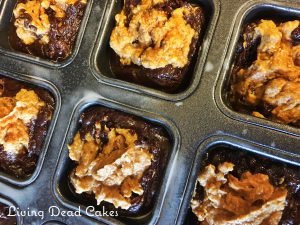
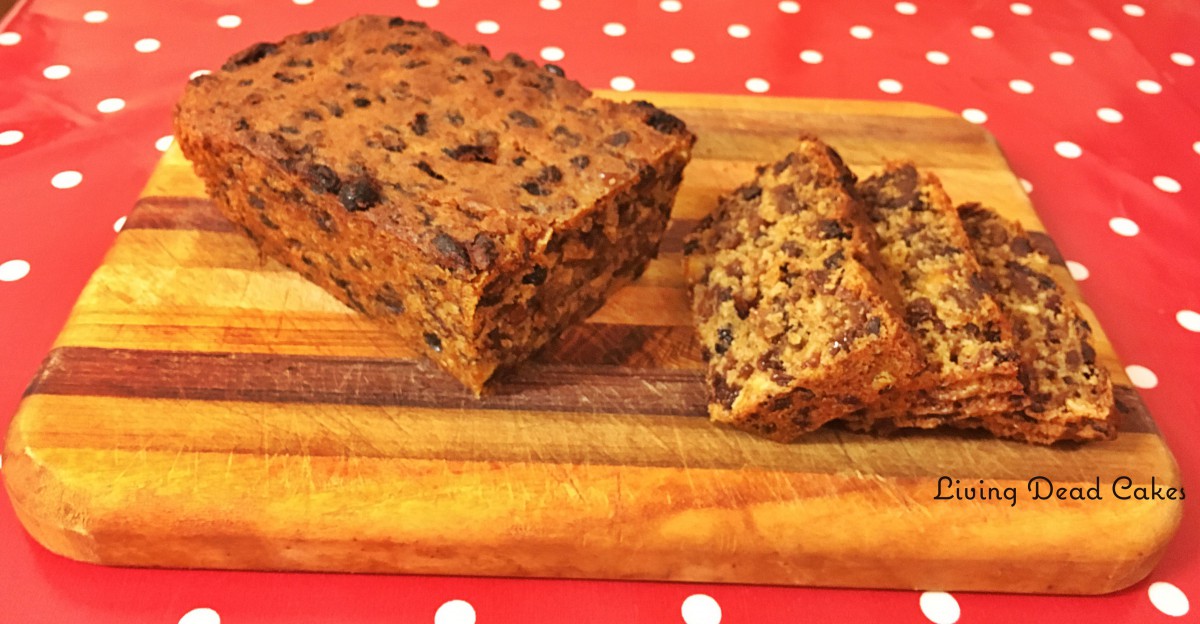
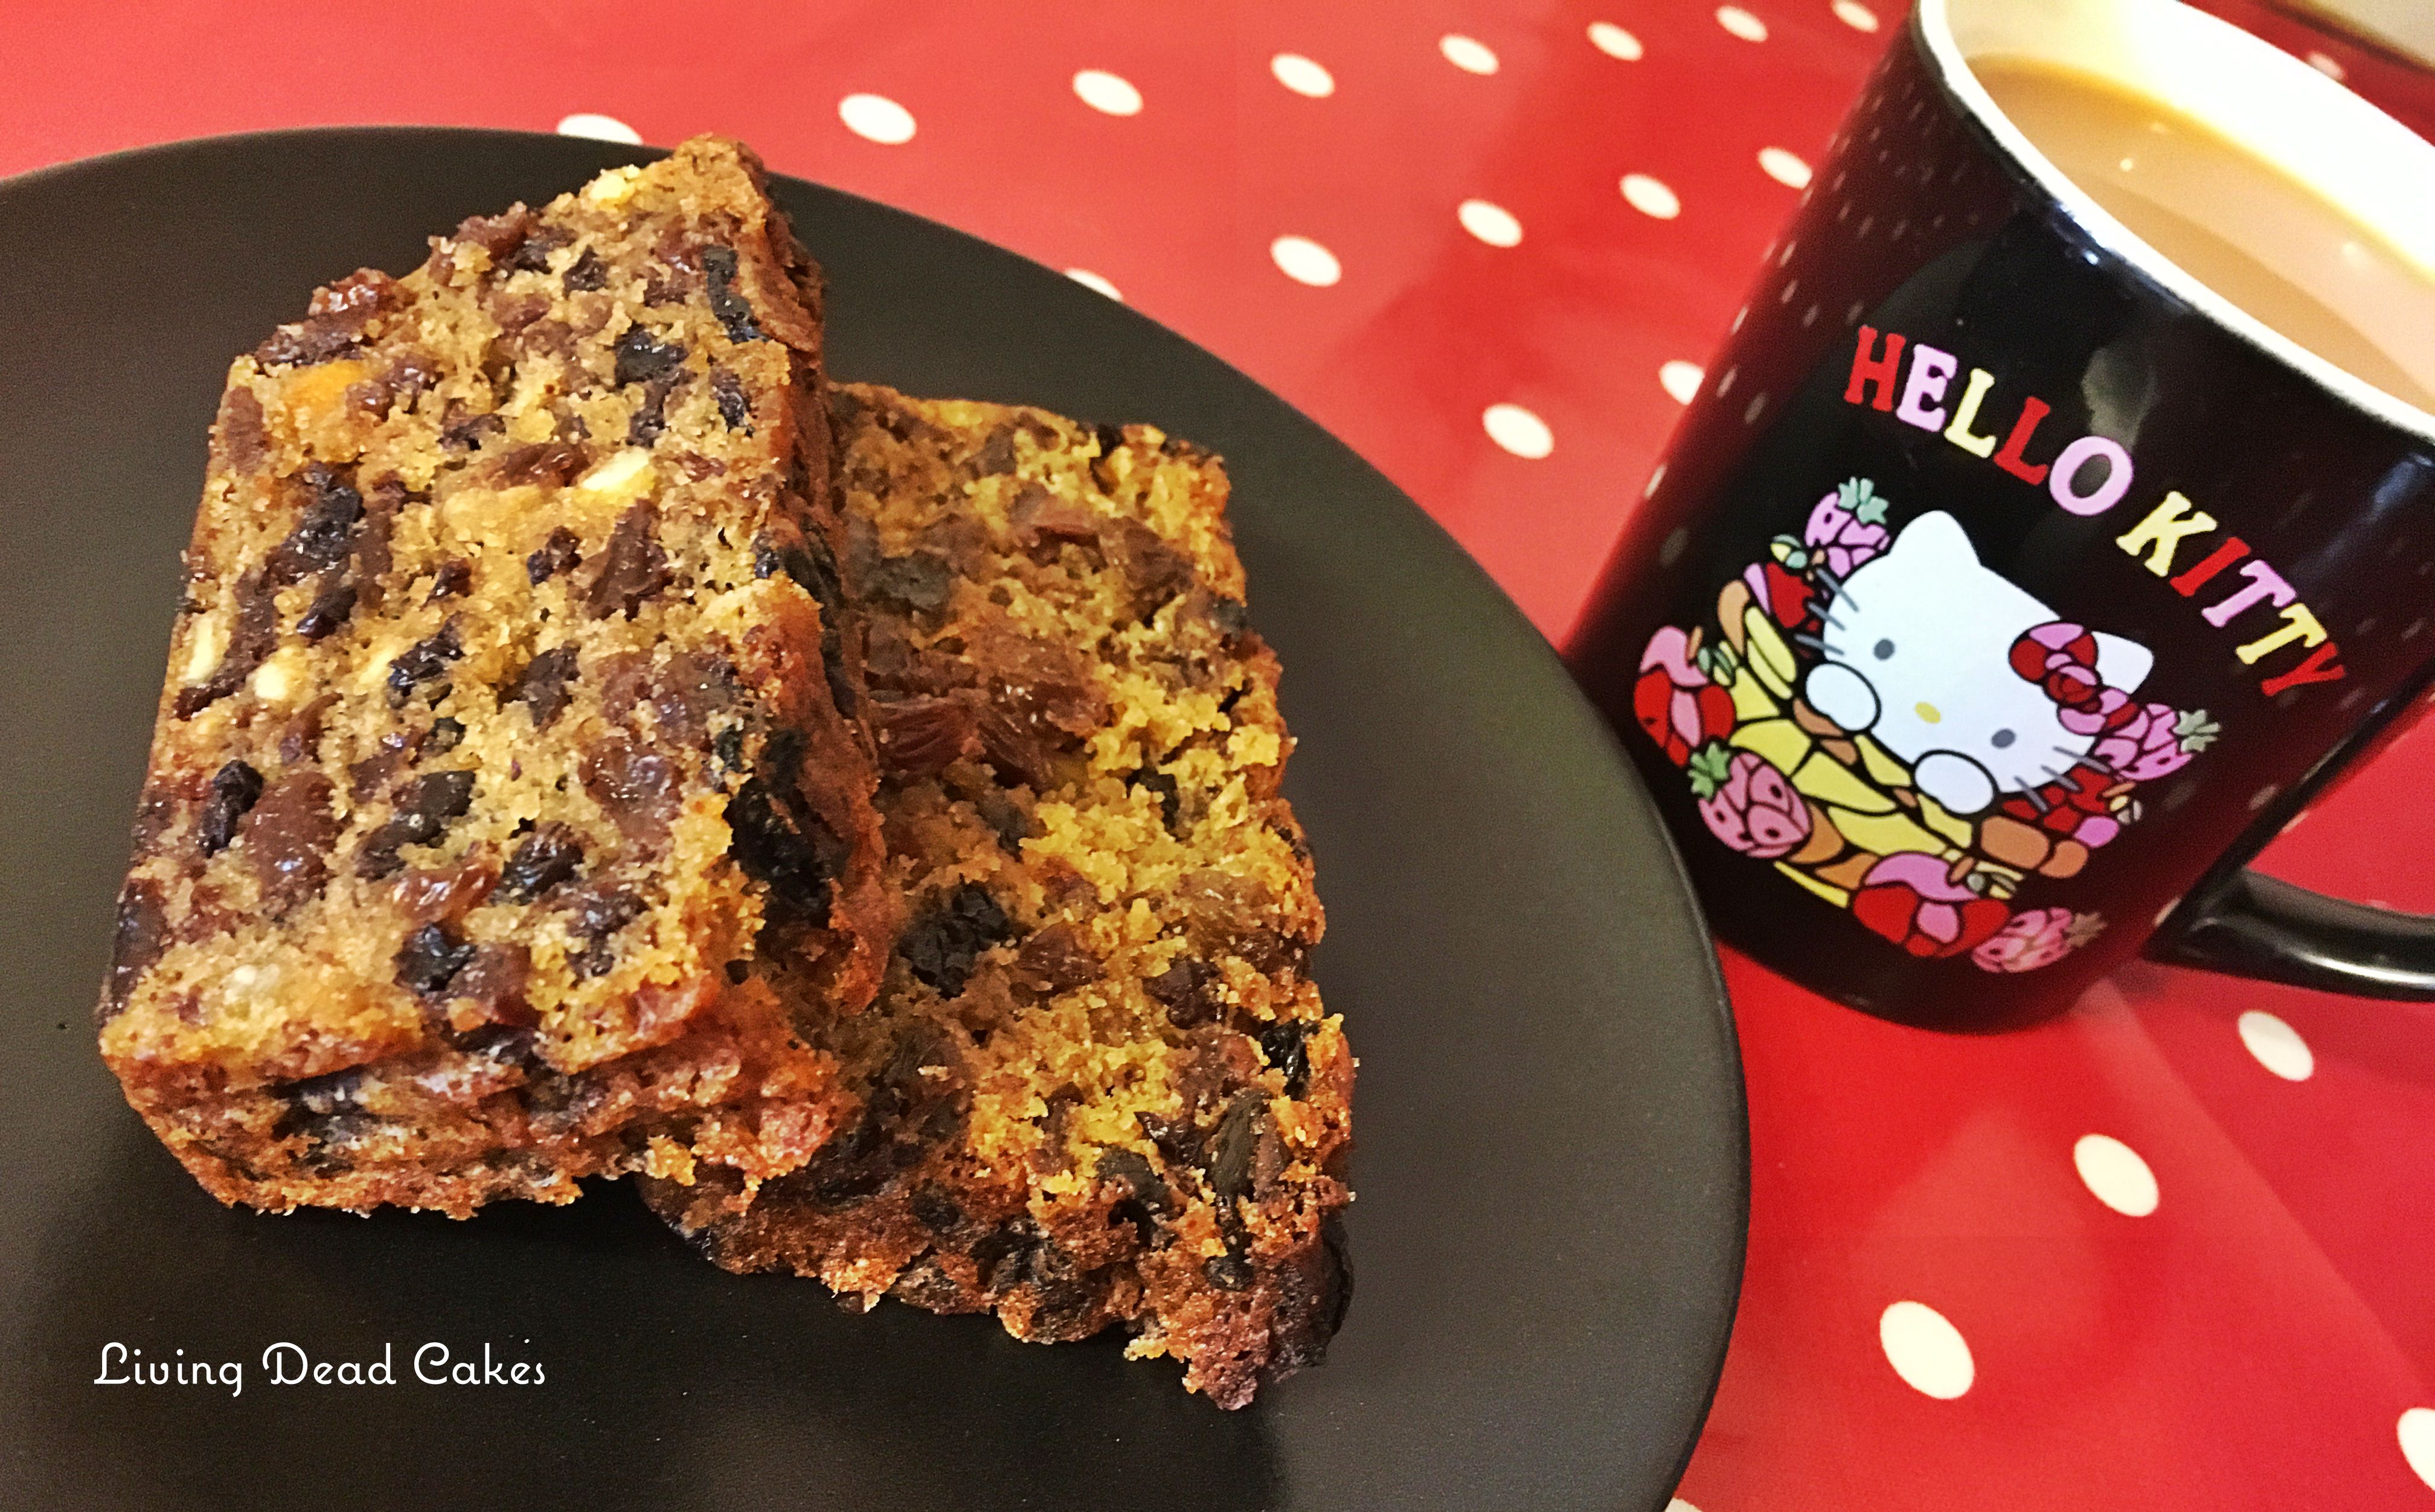
Hazelnut Brownie Loaf,
Chocolate brownie filled with vegan hazelnut spread and crowned
with roasted hazelnuts.
Peanut Butter Brownie Loaf,
Chocolate brownie filled with crunchy peanut butter.
Everything Ava tried was vegan & gluten free!
Thank you Ava for the fabulous review and I’m so glad you liked everything and enjoyed your first taste of vegan chocolate. <3
Click Ava’s picture below to go watch her review of our halloween treats.
Ava’s links…show her some love.
YouTube
Instagram
Twitter
Facebook
Ava loved our birthday cake popcorn so this is the 1st recipe from her box that I will share with you all, Yes its vegan & yes its gluten free and yes in case you are wondering its bloody yummy!
This delicious popcorn was born because my son loves birthday cake M&M’s, I can’t eat those & I wanted something we could all eat while we watch movies & I really wanted something birthday cake flavoured. (We need more things this flavour in the UK)
This is the only time you will ever see me using a box cake mix, but to make this taste so good sadly it is needed.
If you are not vegan you can use your favourite white chocolate & if you are not gluten free you can use any white cake mix.
Ingredients:
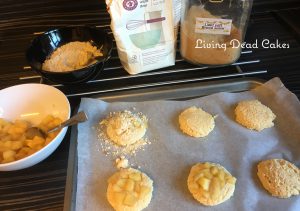
- 1 bag of microwave popcorn (about 60g of popped popcorn)
- 200g Vegan white chocolate*
- 30g Vegetable shortening
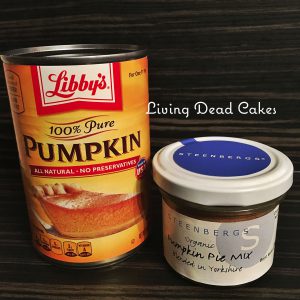
- 150g Gluten free, vegan cake mix*
- 50g Sprinkles**
- 1 Tsp Vanila extract
*I used Sainsbury’s free from white vegan chocolate
**I used Asda vanila Gluten free sponge mix.
*** I used quality sprinkles they are gluten free & vegan.
Method:
1. Line a baking tray with parchment paper and pop your popcorn in the microwave & cook according to the packet instructions.
2. Melt your white chocolate and add the vegetable shortening, vanilla, and cake mix and pour this over the the popped popcorn, add the sprinkles and mix until all the popcorn is covered.
3. Spread the mix over the parchment paper and leave to set for an hour.
EAT!
If you make this don’t forget to tag us on Facebook or Instagram,
I love seeing you all make my recipes.


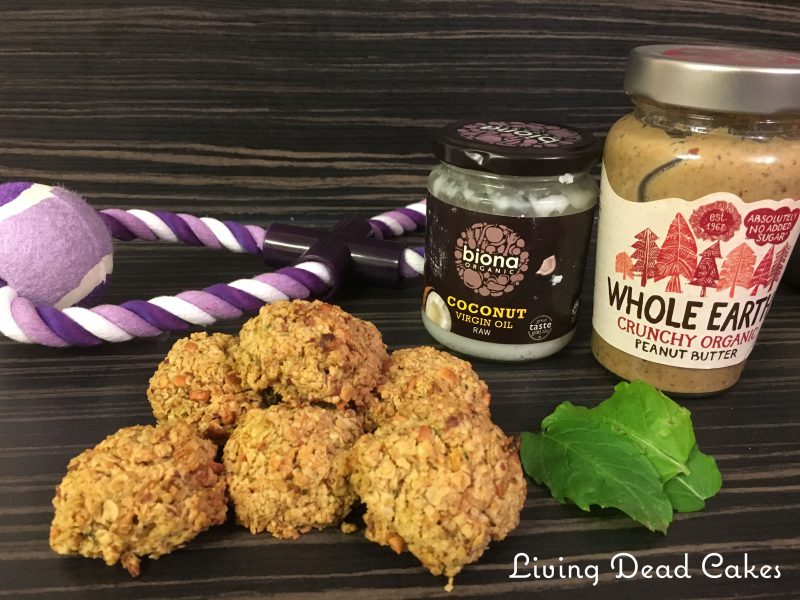
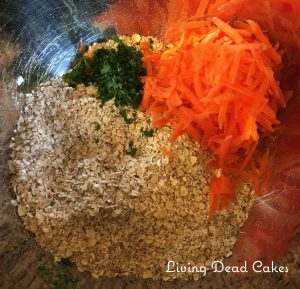
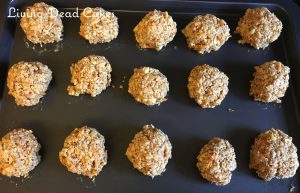
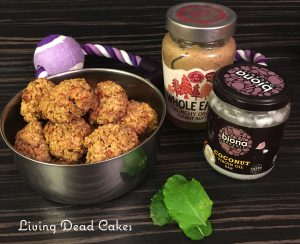 UPDATE: My dogs loved these, they had half a one each morning until they were gone, and both of their coats looked amazing, Phoebe especially her coat was very shinny and fluffy, I can only put it down to the coconut oil.
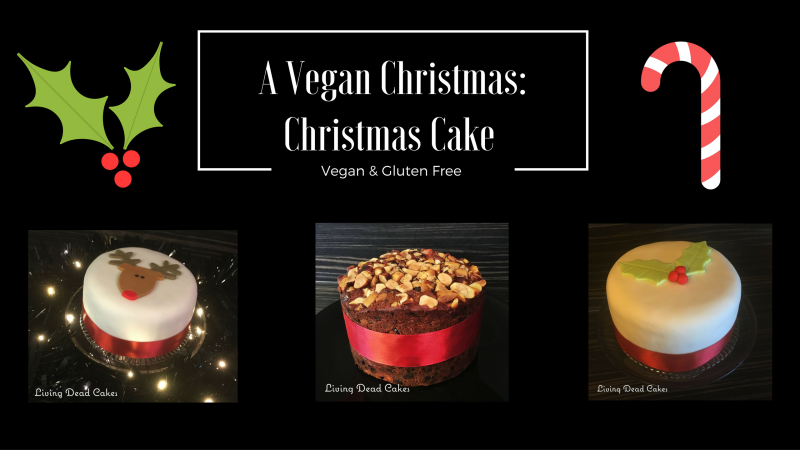
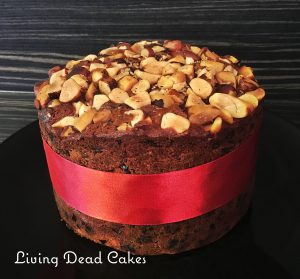
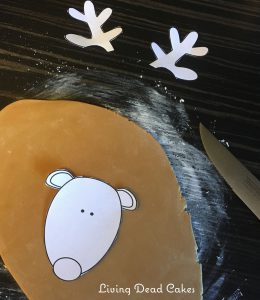
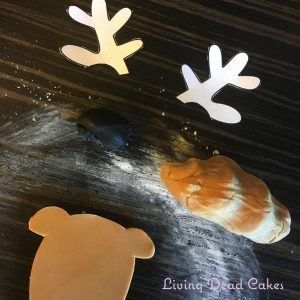
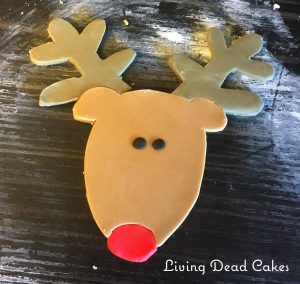
 I will show you how to make your cake from scratch and two different ways of decorating your cake & of course its Vegan & Gluten Free.
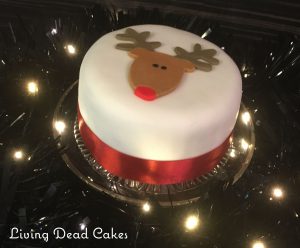
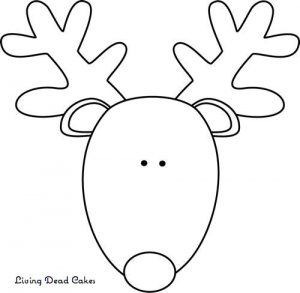

 If you don’t have time to make a little reindeer you can just cut out some holly using a cutter that all the super markets have at this time of year and add a few little balls of red fondant to be berries.
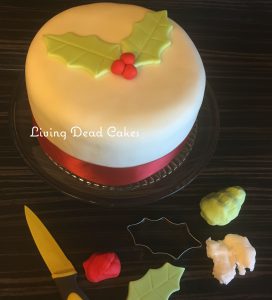 Happy Holidays from us at Living Dead Cakes we hope you have a great festive season & enjoy all of our coming Christmas recipes. xx
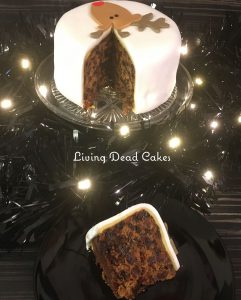


 In this post there will be 3 NEW delicious recipes.